|
2023 Block Of The Month - October - Dresden Plate |
|
2023 Block Of The Month - a 12-part skill-building set of blocks designed to be made on vintage straight-stitch machines
|
 |
For a 12-inch finished block, press your fabrics and cut
twelve "blades" in at least two colours - I used three for the blades and a fourth for the centre - 12 divides perfectly into 2, 3, 4, and 6 (and 12, this is nice as scrappy block) Using the templates here
HERE (link to pdf file)
Plus two pieces big enough to make the centre circle.
You need a background square to mount your plate onto, cut this a little oversize and trim to 12-1/2 inches when all is done
You also need a scrap of batting/wadding to make the centre just a little stuffed...
Templates will work best if printed on thin card or mounted on similar - cereal box is good for this |
 |
Draw round the templates on the BACK of your fabrics - this is your sewing line
Cut the pieces out with a 1/4 inch seam allowance added on all sides
Regular pencil is best, perhaps a white one for dark fabrics |
 |
Fold the piece in half and sew across the wider end as shown, back-stitching at the fold.
Pin and check that the lines match! |
 |
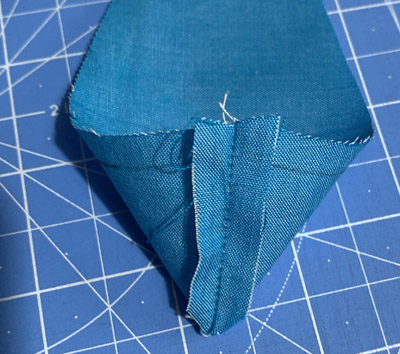
Being careful not to cut the stitches, trim a bit of the corner to save bulk |
 |
Finger-press the seam open |
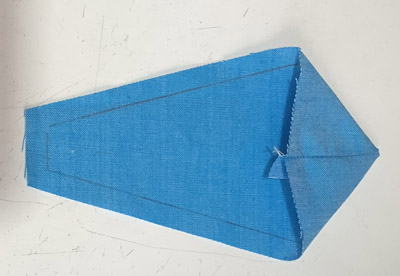 |
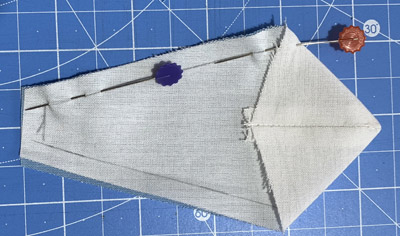
Turn the point out neatly and press, with the seam in the middle |
 |
Make 12 |
 |
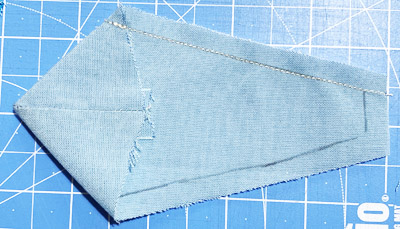
Matching the top edge and making very sure that the pencil lines match on both sides, pin and sew two pieces together
Tip - I made sure that I sewed the pieces in the right order by making four pairs first, keeping the order the same, then added the third colour... |
 |
Pinned, from the back |
 |
Sewn. Back-stitch at the top edge |
 |
Sets of three - press seams open |
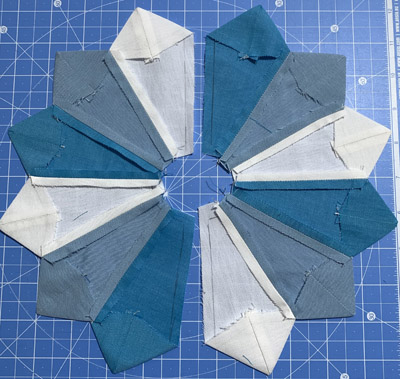 |
Sixes |
 |
Twelve |
 |
Take your background square and press across and down to make creases in the middles, to line up the plate |
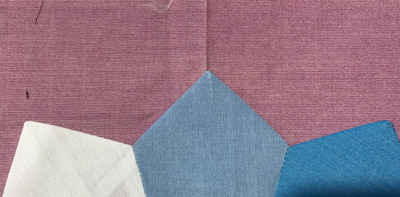 |
Point meets crease |
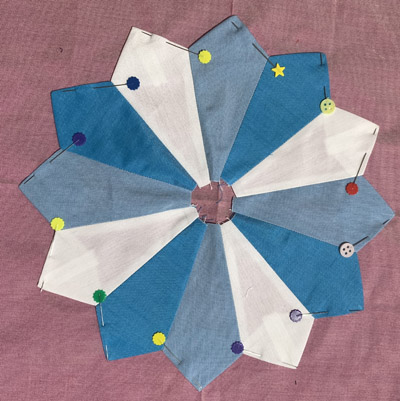 |
Pin efficiently |
 |
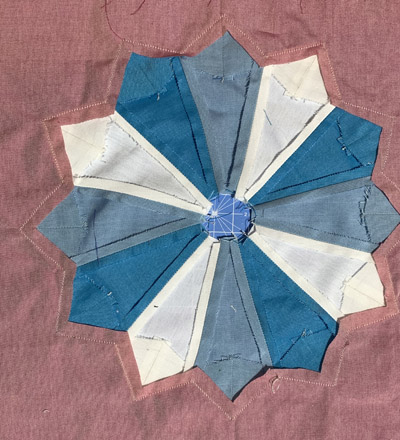
Sew close to the edge with a smallish straight stitch all the way round. Pull the ends through to the back and tie off |
 |
So far, so lovely |
 |
Turn the block over and trim out the back, be careful! |
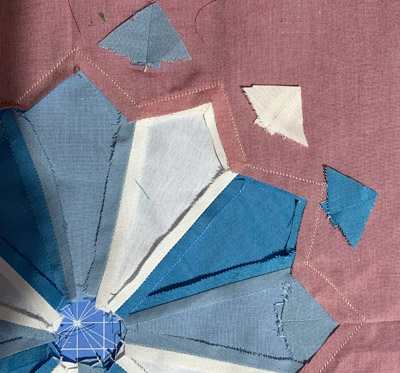 |
Also, if you wish, trim out the excess inner points |
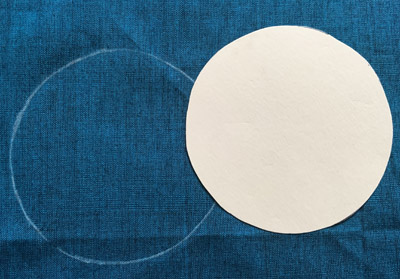 |
Make the middle. Draw from the circle template on the back of one piece of your centre fabric. Cut a little slot in the middle of this piece. Put this piece face to face with another piece the same and put both of these on top of a scrap of batting/wadding |
 |
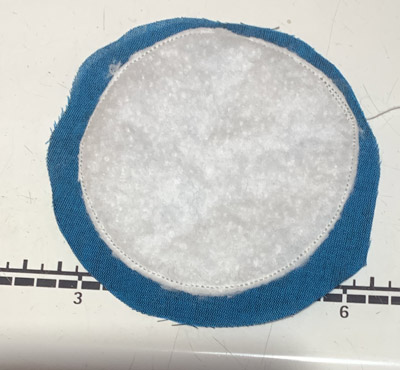
Sew all round through all three layers |
 |
Turn over and trim the batting close to the stitching |
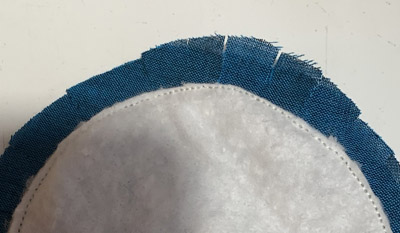 |
Snip all round, making sure you don't cut the stitching |
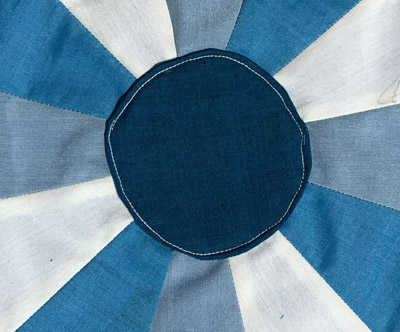 |
Turn out the centre and push the edges out nicely, pin and sew down as before (Note, I used a contrast thread, yours will look much better if your thread matches) |
 |
Turn the thing over again and trim any excess from the centre.. |
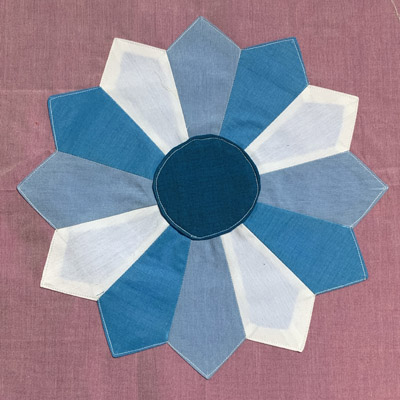 |
Block ten complete - trim your block is 12-1/2 inches exactly, making sure the plate is centred, when all is sewn together... |